Loved a recipe? Have a question? Please share a comment. 🙂
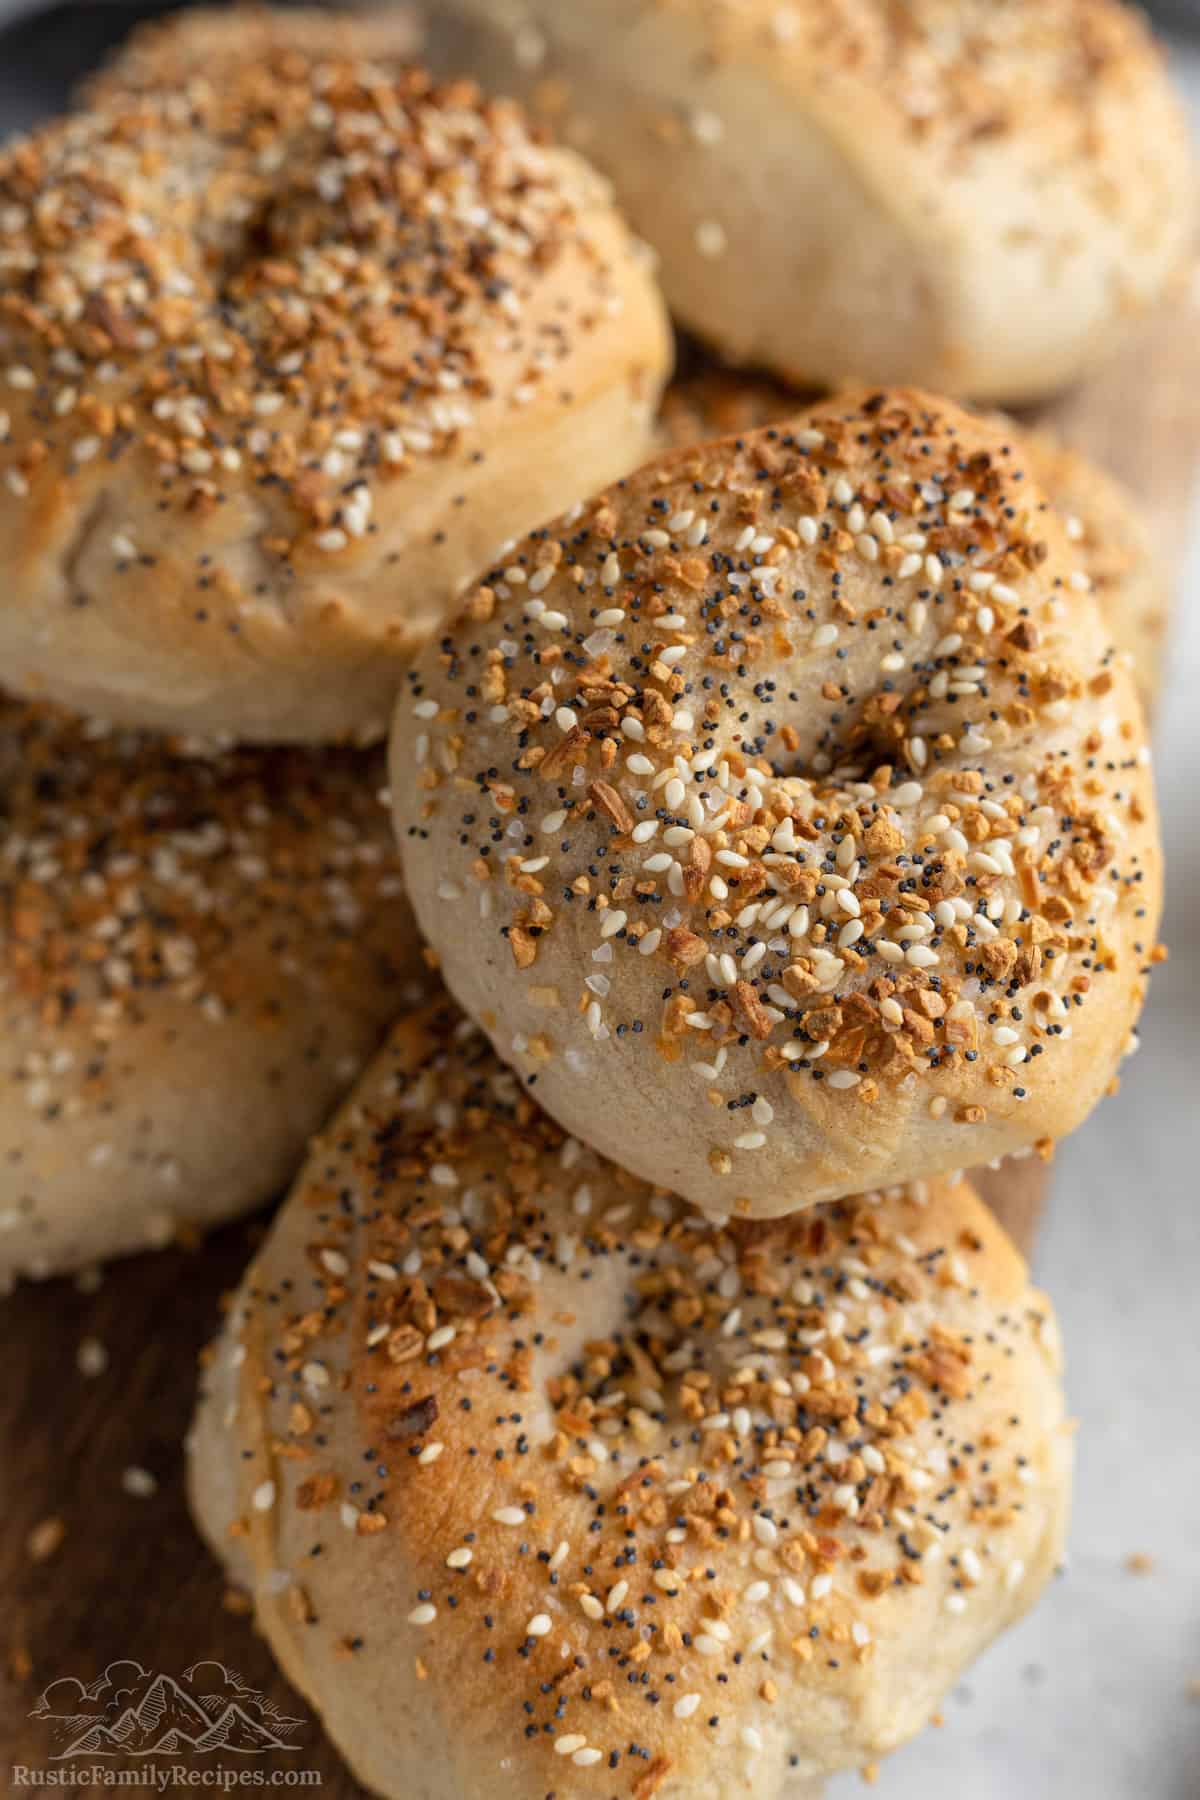
These Sourdough Everything Bagels are made completely from scratch. They have a crisp, chewy exterior and fluffy insides just begging to be smothered with cream cheese or butter! Get ready to make the best homemade bagels of your life.

Tell me the truth: the idea of making bagels from scratch sounds totally complicated right? And the thought of SOURDOUGH bagels is even more intimidating?
My friends, I am about to blow your mind because bagels are one of the easiest things to make with your sourdough starter. The only thing you need is time. Homemade sourdough bagels are not for people in a hurry but trust me, the wait is worth it.
Why You’ll Love This Sourdough Bagels Recipe
- Easy. Simple ingredients and basic techniques is all you’ll need.
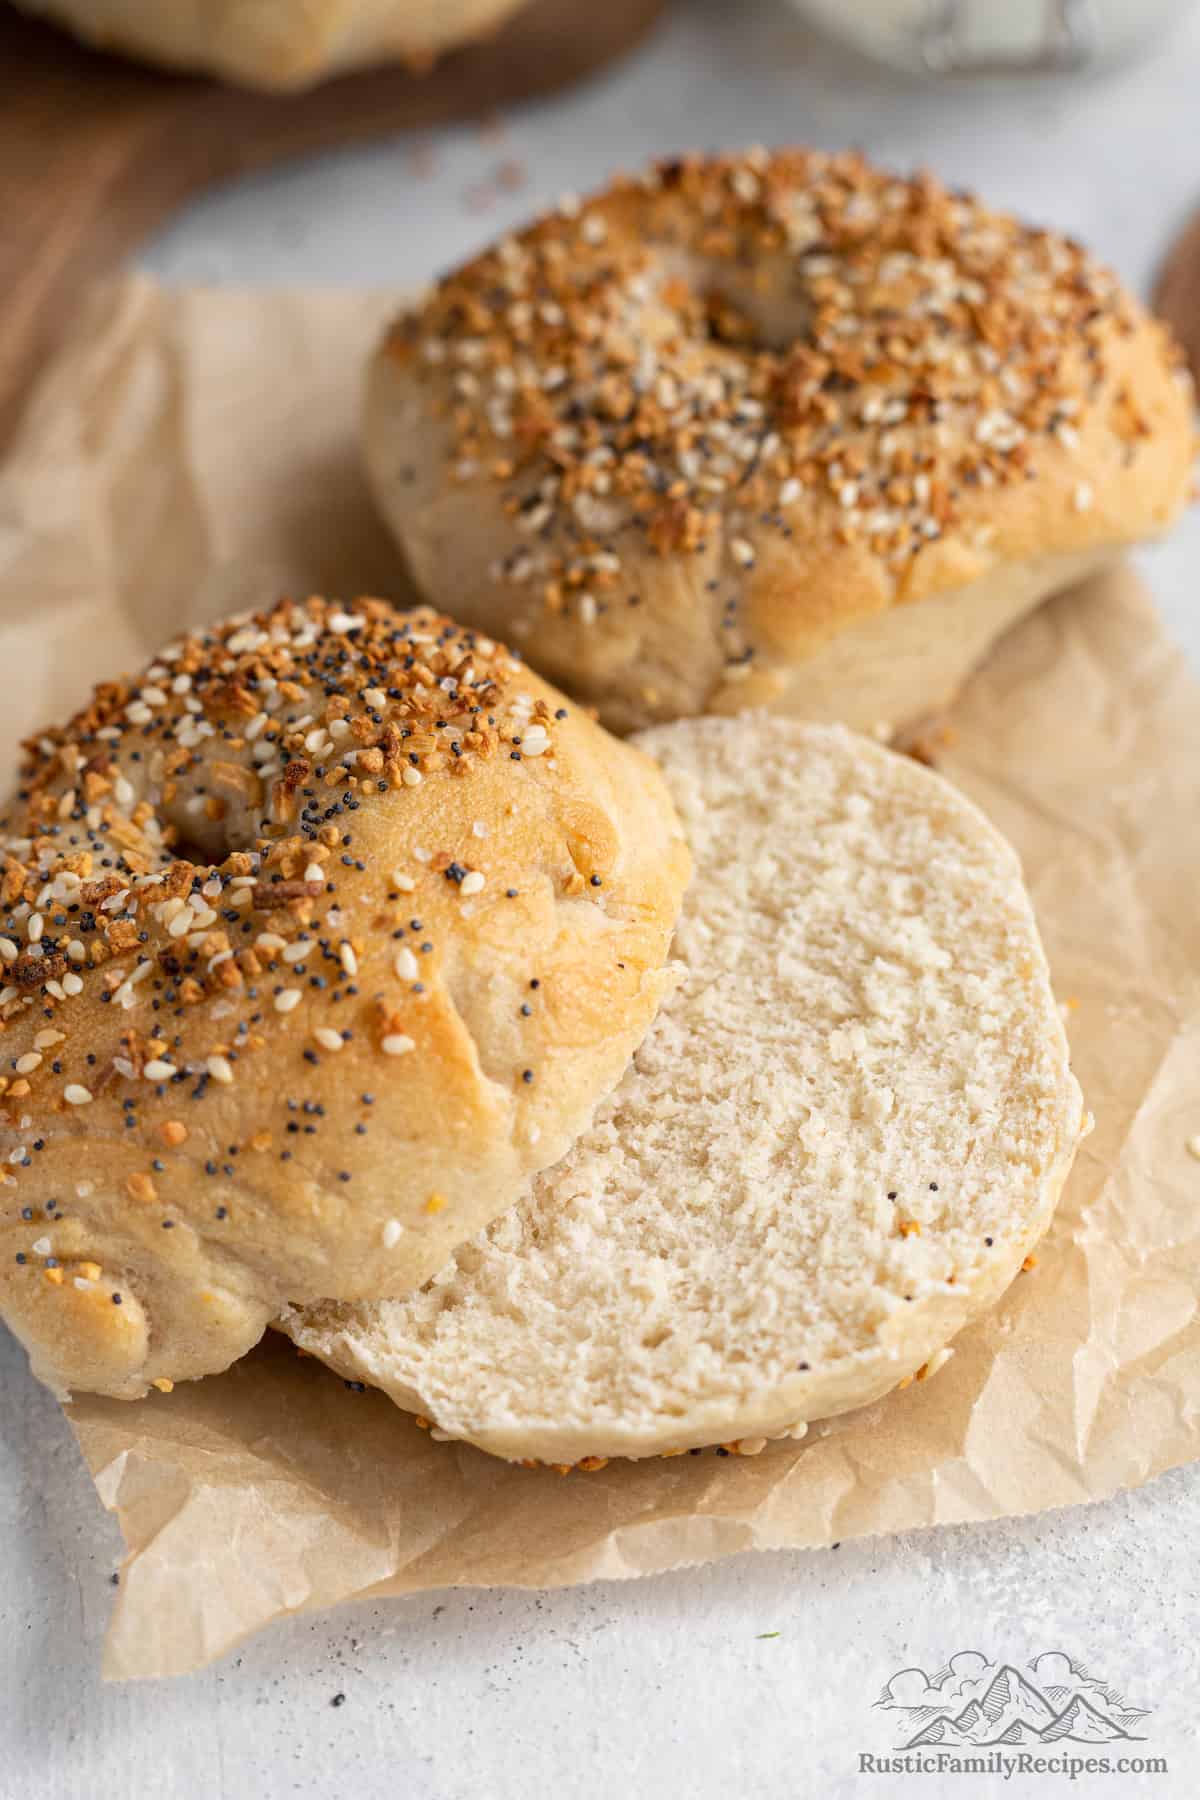
- Perfect texture. The finished bagels have a chewy-crisp crust and fluffy insides.
- Flexible. I like to put everything bagel seasoning on my bagels, but feel free to use dried onions, sesame seeds or whatever your preferred topping is.
How Long Does It Take to Make Sourdough Bagels?
It takes two days to make sourdough bagels from scratch. BUT, it 95% of that time is inactive and when you’re actually doing something it’s not complicated.
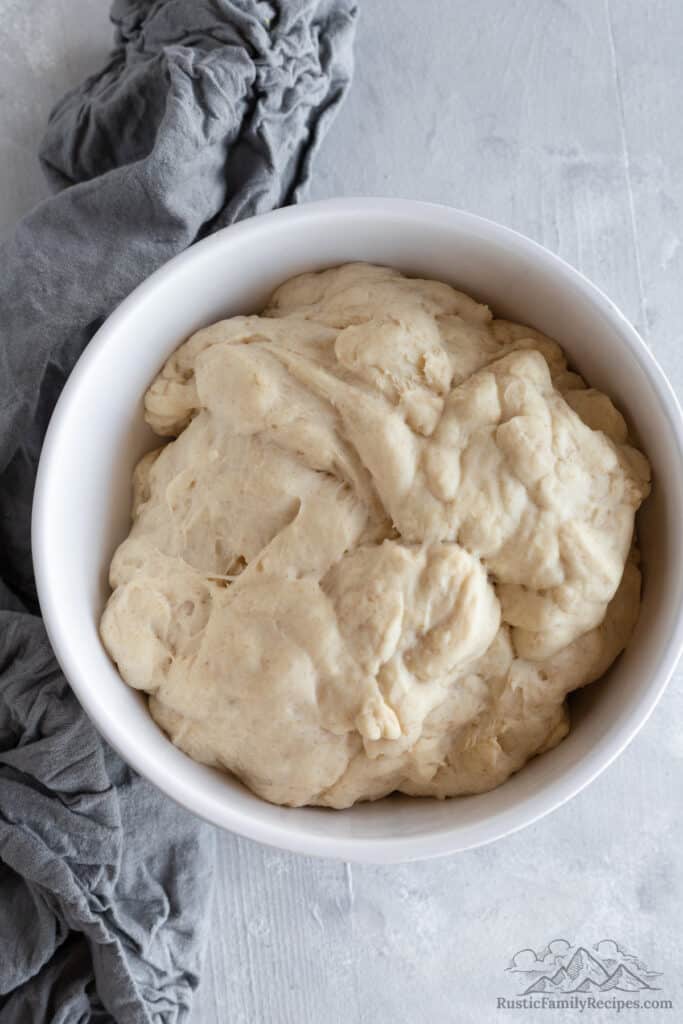
- Day 1: Make the dough with your sourdough starter. Then let the dough ferment in a warm spot overnight.
- Day 2: Shape the bagels and let them rise for 2 hours. Then boil them in a baking soda bath, add your toppings and pop them in the oven.
Don’t be like most folks and decide it’s not worth the effort to make bagels simply because they will not be ready on the same day. I’m sure there are some sourdough recipes out there that promise same day satisfaction, but that is not the old way of doing things.
Make the bagels.

What You’ll Need
Here is what you’ll need to make sourdough bagels from scratch. The list is not long:
- Sourdough starter: You will need 1/2 a cup of active, recently fed starter for this recipe.
- Water
- Honey: You can also use agave if you prefer.
- Kosher salt
- Flour: The amount of flour you need will depend on how much liquid is in your starter and the humidity in your area. I have included tips for navigating this in the instructions below.
- Everything Bagel Seasoning: This is optional. My kids and I love it, but my husband is not a fan so we always make a couple bagels without any toppings for him. (How I married a man who doesn’t like everything bagels is beyond me. Though to be fair, he didn’t tell me until we had been married for 15 years.)
- Baking soda: This is for the water bath
- Sugar: Also for the water bath
How to Make Sourdough Bagels
Ok let’s get down to it. Here is how you can make sourdough bagels from scratch, step-by-step:
Day 1: Make the Dough
- Feed your starter: About 4 hours before you want to start your dough, feed your sourdough starter and set on the counter (away from any drafts).
- Mix with honey water: Once the sourdough starter is active and bubbly, scoop out ½ cup and place inside the bowl of a stand mixer and attach the dough hook. Add 1 cup room temperature water and the honey. Mix until combined and the honey is dissolved.
- Make your dough: Add 2 cups of flour and the salt. Knead on LOW speed for roughly 8 minutes. The dough will start to form. Slowly add the remaining flour a little at a time and knead until smooth and easily pulls away from the hook.
Note: This recipe calls for 3 1/4 to 3 1/2 cups of all purpose flour. The amount you’ll need will depend upon how you measure your flour, how much liquid is in your starter and how humid it is in your kitchen. I almost always need 3 1/2 cups of flour. However, I start with 3 and then add the remaining flour one tablespoon at a time until the dough pulls away from the hook, is smooth and not sticky.
- Let it rise: Cover the dough with plastic wrap and let it ferment in a warm spot overnight.
Day 2: Shape and Finish the Bagels
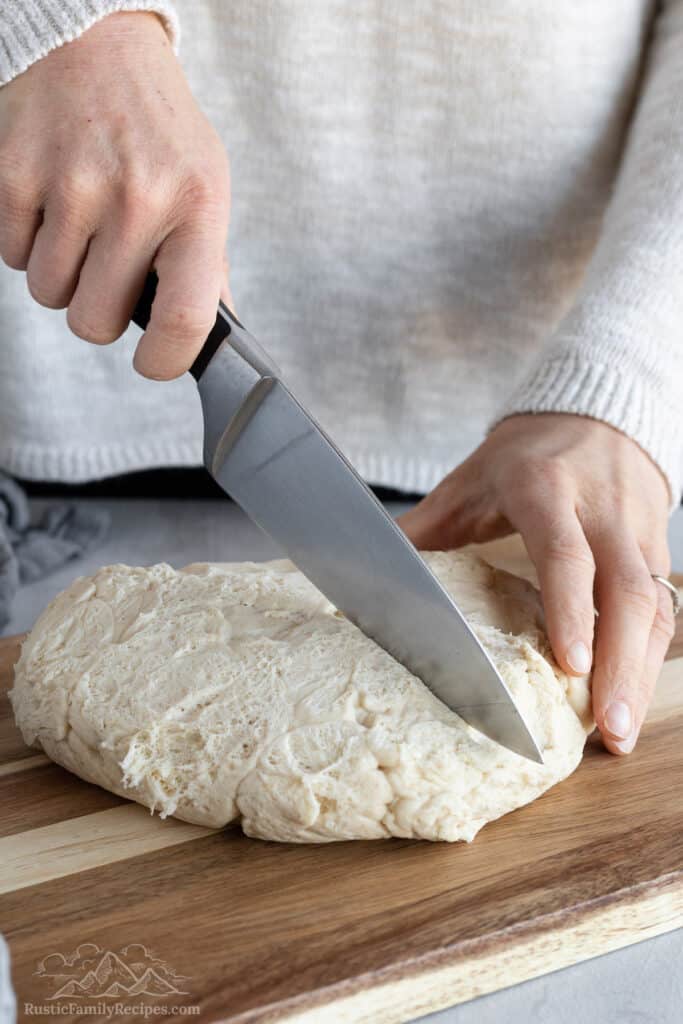
- Cut into 8 pieces: In the morning (after the dough has fermented), dump the dough out onto a cutting board. With a knife, divide the dough into 8 equal pieces. Gently shape each section into a round ball.
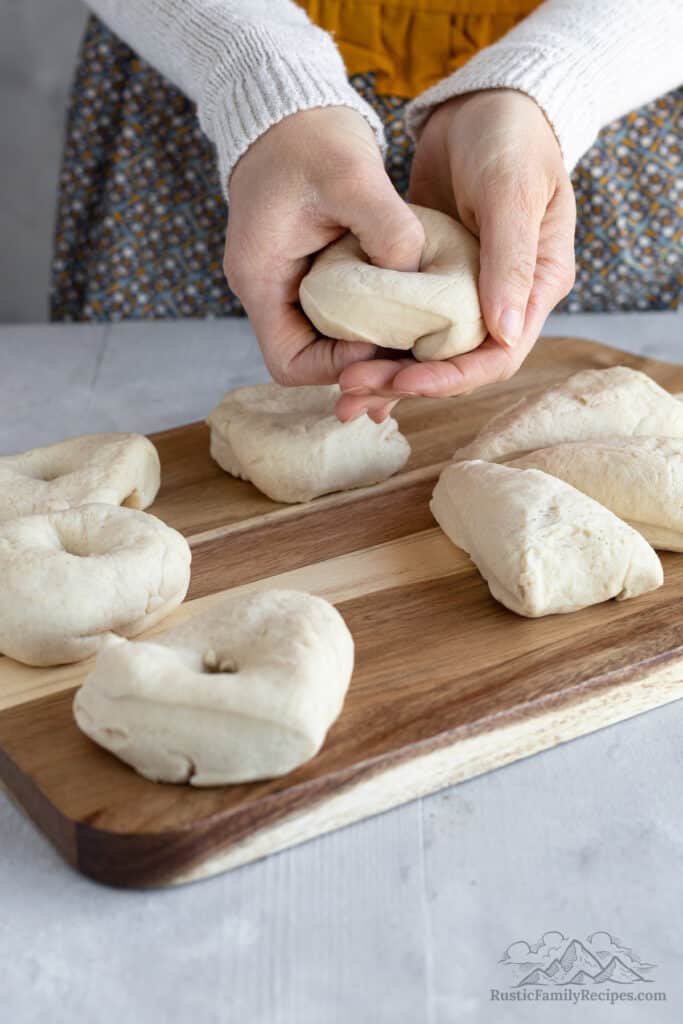
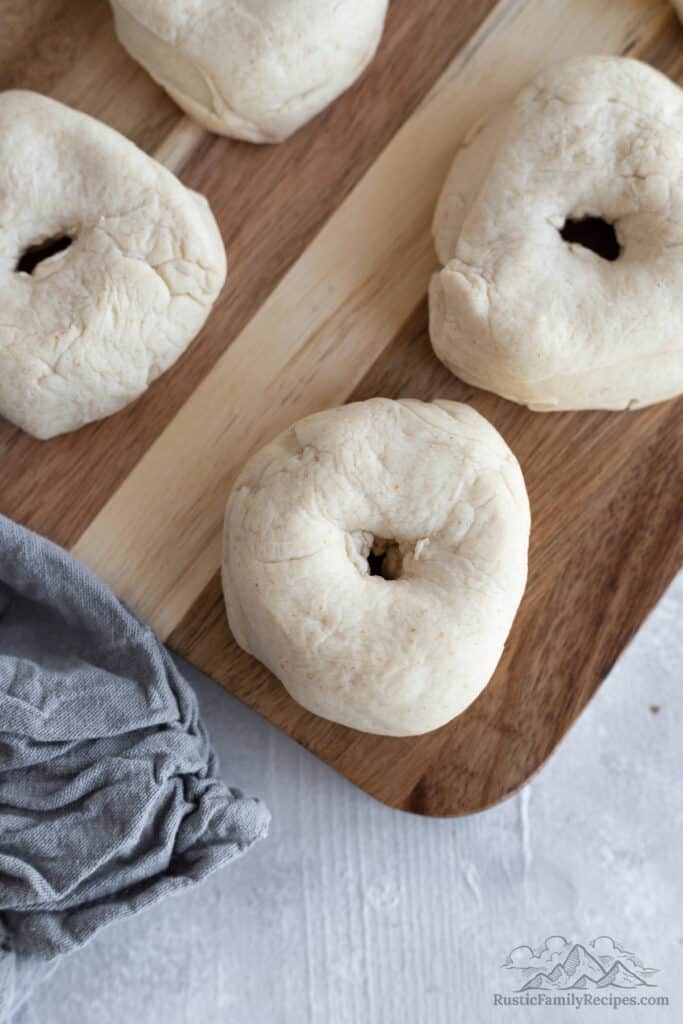
- Shape your bagels: One at a time, gently press into the middle of each ball of dough to create a center hole. Lightly pull away from the center to ensure the hole is large enough for even baking.
- Let them rise: Place prepared dough on a parchment lined baking sheet. Once all balls of dough are prepared, cover the baking sheet with a large piece of plastic wrap that has been sprayed with PAM or olive oil to prevent it from sticking to the dough. Let the raw bagels rest for 2 hours in a warm place, or until they form a fluffy consistency.
- Prep your tools: When the raw bagels are done resting, prepare the baking soda bath and preheat your oven to 425F.
- Make the baking soda bath: Bring a large pot of water to boil and add the 1 teaspoon of baking soda and 2 teaspoons of sugar.
- Boil the bagels: With a slotted spoon, gently place a few bagels in the boiling water (be sure not to crowd). Boil for 30 seconds on each side and then place back onto the lined baking sheet. Continue until all bagels have been boiled.

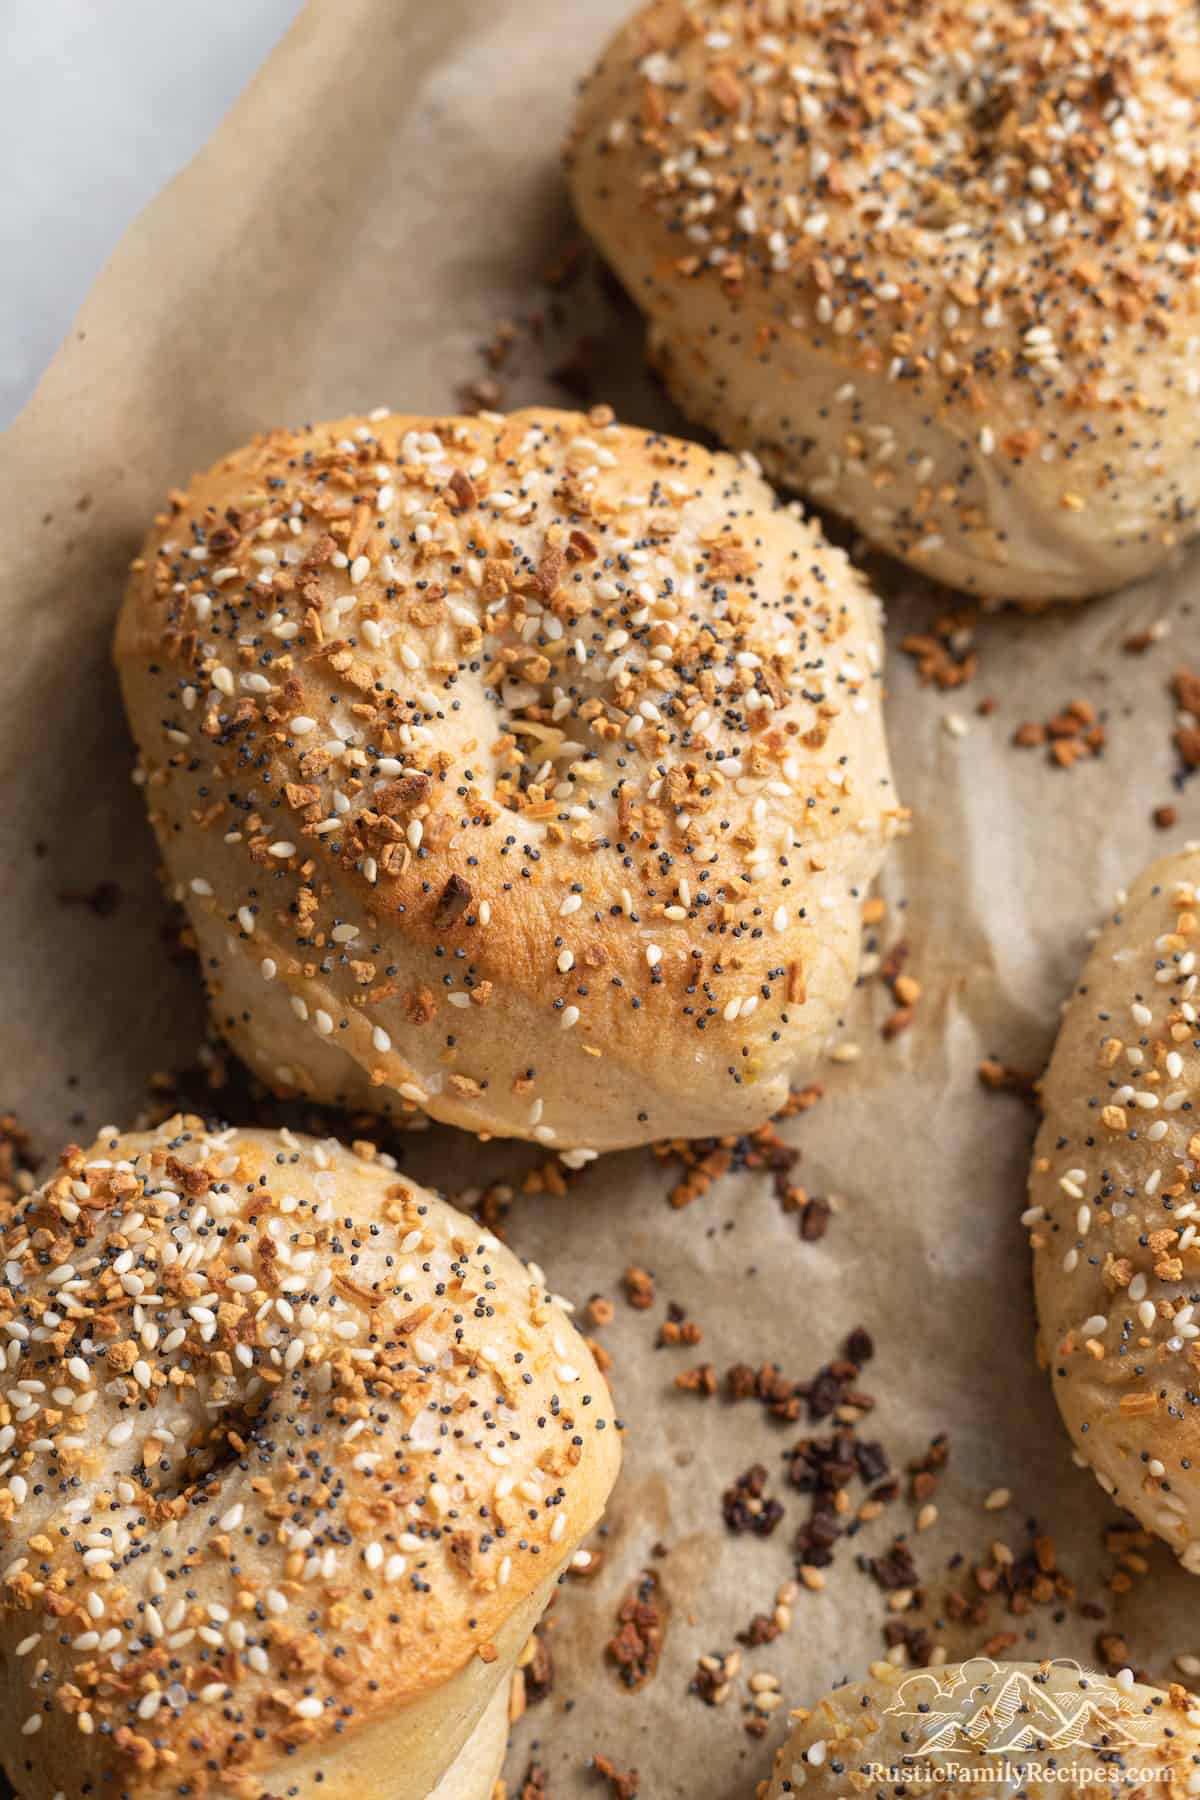
- Add your toppings: While the bagels are still damp, generously sprinkle with the everything bagel seasoning.
- Bake your bagels: Prepare a second baking sheet with dry parchment paper and transfer prepared bagels. Bake in a preheated 425 degree oven for 20-25 minutes, or until lightly golden on top.
Why Do You Boil Bagels Before Baking?
Bagels are quickly boiled in water so that the outside crust sets before the bagels are baked in the oven. The longer you let your bagels boil, the thicker and chewier your crust will be. In this recipe we boil the bagels for 30 seconds per side before they are placed in the oven.
Boiling also influences the inside of the bagels. A longer boil time makes the interior more dense, while a shorter boil time makes the insides of your bagels more fluffy.
Baking soda and sugar are added to the water bath in this recipe. They help give the bagels their golden color and also add flavor to the crust.
Tips for Success
- Take your time. My biggest tip for successfully making bagels is not to rush. Sourdough starter is a living thing and it does things on its own schedule. There have been times my bagels have needed to rise for more than 2 hours because the house is cold.
- Feed your starter. It is important to feed your starter and give it about 4 hours to wake up and get moving. If you’re going to put it to work making bagels, you need to give it time to drink it’s morning cup of coffee and get moving. 🙂
Serving Suggestions
We usually just eat our bagels with cream cheese or butter. No need to mess with a classic combo.
But these homemade bagels also make epic breakfast sandwiches. Just scramble some eggs, slice open your bagels, and stuff with with eggs, cheese and maybe a couple slices of crispy cooked bacon. Warm it all in the oven until the cheese has melted and dig in!
How to Store Homemade Bagels
- Counter: You can store this bagels on the counter in an airtight container for up to 3 days. (I’ll be honest though, we usually eat these all the day they are made.)
- Freezer: Bagels can also be frozen in an airtight, freezer safe container for up to 3 months. Wrap each bagel in plastic wrap before placing them in the container you’ll be storing them in. This helps prevent freezer burn. Defrost in the fridge overnight or on the counter when you’re ready to eat them. I do not recommend microwaving frozen bagels to defrost them.
More Sourdough Recipes
Sourdough Everything Bagels
Ingredients
- ½ cup active sourdough starter
- 1 cup water, room temperature
- 2 ½ tablespoons honey
- 2 teaspoons kosher salt
- 3 to 3 ½ cups all purpose flour
- 3-4 tablespoons everything bagel seasoning
- For Boiling: 1 tablespoon baking soda and 2 teaspoons sugar
Instructions
Day One
- Step 1: About 4 hours before you want to start your dough, feed your sourdough starter and set on the counter (away from any drafts).
- Step 2: Once the sourdough starter is active and bubbly, scoop out ½ cup and place inside the bowl of a stand mixer and attach the dough hook. Add 1 cup room temperature water and the honey. Mix until combined and honey is dissolved.
- Step 3: Add 2 cups of flour and the salt. Knead on LOW speed for roughly 8 minutes. The dough will start to form.Slowly add the remaining flour a little at a time and knead until smooth and easily pulls away from the hook.* Cover with plastic wrap and let it ferment away from the draft 8 hours or overnight.
Day Two
- Step 4: In the morning (after the dough has fermented), dump the dough out onto a cutting board. With a knife, divide the dough into 8 equal pieces. Gently shape each section into a round ball.
- Step 5: One at a time, gently press into the middle of each ball of dough to create a center hole. Light pull away from the center to ensure the hole is large enough for even baking.Place prepared dough on a parchment lined baking sheet. Once all balls of dough are prepared, cover the baking sheet with a large piece of plastic wrap. Let the raw bagels rest for 2 hours in a warm place, or until they form a fluffy consistency.
- Step 6: When the raw bagels are done resting preheat your oven to 425F and prepare the baking soda bath.Bring a large pot of water to boil and add the 1 tablespoon of baking soda and 2 teaspoons of sugar.With a slotted spoon, gently place a few bagels in the boiling water (be sure not to crowd, I usually do 3 bagels at a time). Boil for 30 seconds on each side and then place back onto the lined baking sheet. Continue until all bagels have been boiled.
- Step 6: While the raw bagels are still damp, generously sprinkle with the everything bagel seasoning. Bake in the preheated 425 degree oven for 20-25 minutes, or until lightly golden on top.


Thanks for posting this amazing recipe. One modification, on my part, I gave each bagel an egg white wash and the seeds and salt stuck so much better.
I’m glad you enjoyed the recipe!
Amazing !!! I made two batches for the first time and then did mini bagels, along with some plain ones for my kiddos. They were easier than I thought and taste amazing !
Yay! So happy you liked them! Thank you for sharing. <3